View Section 2: Recipe for Quality Compost
On-Farm Composting
You can choose to watch this video, read the section, or do both. "Learn More" resources are available at the bottom of the page.
(The content in this section is adapted from Uta Krogmann, Ph.D. Associate Professor of Solid Waste Management and Engineering at Rutgers University.)
Watch It:
Read It:
Making good compost is like making a good wine. Once you understand the science, you can better appreciate the texture, color, and aroma that makes up a good handful of compost -- or your favorite glass of wine.
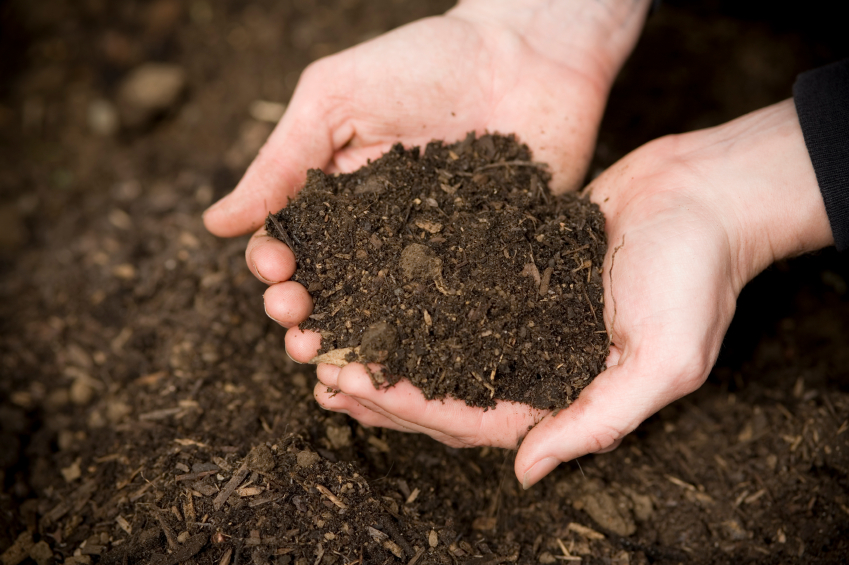
Composting is a natural process that relies on bacteria to decompose organic matter. You can improve the efficiency of a compost operation by following simple guidelines that keep those bacteria working hard.
Think of yourself as a good and compassionate compost overlord. You master your domain by manipulating seven keys to microbial vigor.
- Moisture
- Oxygen
- Particle size
- Temperature
- Mixing
- Carbon:nitrogen ratios
- pH
Moisture
Bacteria need water to thrive, but too much moisture can kill them by crowding out oxygen. The right moisture level encourages bacterial growth, nutrient transport, removal of some waste products, and mobility of the microbes. Low moisture levels slow down the composting process, and overly high levels reduce pore space and limit oxygen availability.
The ideal moisture content is between 45 and 70 percent by weight. But there’s no need to weigh anything. A simple squeeze test works just fine: Grab a few handfuls of compost from different areas in the pile. It should feel damp, like a wrung-out sponge. If not, add water until it does.
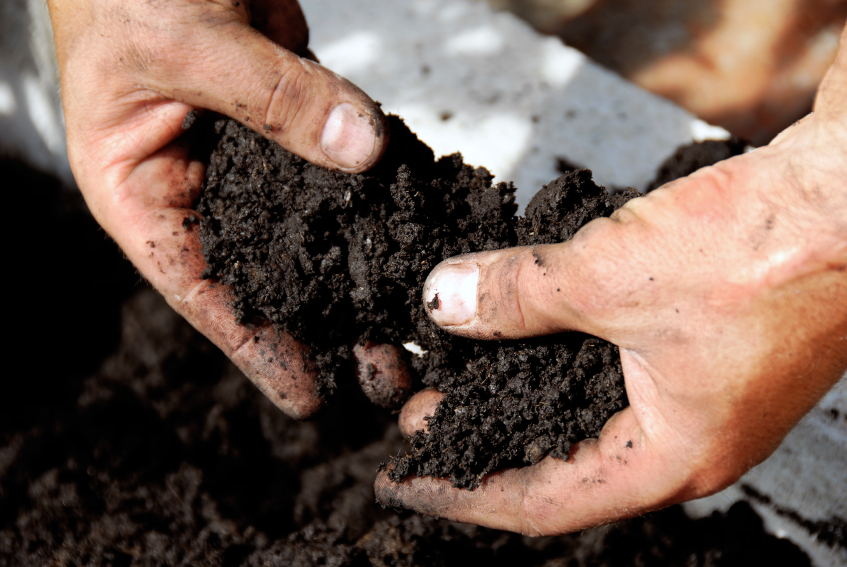
If compost is dripping wet, you can add a bulking agent, such as dry wood chips, cardboard pieces or newspaper strips. If your pile smells bad, it may be too wet.
Or you can try using a microwave to test the moisture levels in your compost. You will need a small scale, paper plate, a water glass and, of course, a microwave oven. *Do NOT use a kitchen microwave and be careful of a fire if overheating occurs.*

The following instructions on how to test moisture content using a microwave have been adapted from "Use of Microwave Drying to Determine Moisture Content in Forage" (ID-172) from the Departments of Animal Sciences and Agronomy at Purdue University Cooperative Extension.
The procedure for determination of moisture (dry matter) content with the microwave oven is as follows:
-
Place a preweighed large paper plate (9-inch minimum) on the scale and weigh out exactly 100 grams of the representative forage sample. (A smaller sample can be used but the 100-gram sample makes for easier calculations.)
-
Spread the compost evenly on the paper plate.
-
Place an 8 oz. water glass, three-quarters full of water, in the back corner of the microwave oven; keep water level constant during oven use. (This protects your microwave from burning out.) Set your microwave oven at 80% to 90% of maximum power.
-
If your compost is moist, start by heating the sample in the microwave for eight minutes. Then weigh and record sample weight. Mix the sample and heat it again for two minutes; remove and weigh. If the weight has not changed more than one gram, use this value. If the change is greater than one gram, continue drying using additional one-minute intervals until the weight change is less than one gram. For greater accuracy, continue drying until the dry weight is constant.
-
Be careful not to char the sample. If this occurs, it means the oven was set too high, the drying time was too long, or you forgot to put the glass of water in the rear of the microwave. Discard the charred sample and repeat the test.
-
Use the following equation to calculate the moisture content.
-
-
-
-
- percent moisture = (wet weight - dry weight) / (wet weight)
- percent moisture x 100 = moisture content
-
-
Keep in mind, since the wet and dry weights include the weight of the paper plate (unless scale can be tared to zero with the plate on the scale), the weight of the paper plate must be subtracted from the wet and dry weights before making [this] calculation."
Moisture Content Calculation: Example
A farmer wants to determine the moisture content of a compost sample. She puts a 50-gram compost sample inside a brown paper bag (the bag weighs 4 grams, so the bag + compost weighs 54 grams), and heats the bag of compost in the microwave for 1 min.
She weighs the bag of compost, and the new weight of the bag + compost is 42 grams. She heats the bag of compost for another minute, and the new weight of the bag + compost is 36 grams. She heats the bag of compost for a third time (stopping the microwave before the full minute of heating when the sample starts to singe). The final weight of the bag + compost sample is 28 grams.
-
-
- Total sample weight = 54 grams
- Total wet weight = Total sample weight (minus) Bag weight = 54 - 4 = 50 grams
- Solid weight = Final weight (minus) Bag weight = 28 - 4 = 24 grams
- Weight of water = Total wet weight (minus) Solid weight = 50 - 24 = 26 grams
- MC(%) = Weight of water (times) 100 (divided by) Total wet weight = 26 x 100 / 50 = 52%
-
(Source: This example was adapted from Sanjay Shah, North Carolina State University, November 16, 2010 presentation.)
Oxygen, Particle Size, and Mixing
Composting is an aerobic process. Without oxygen, the physical and chemical reactions needed for decomposition cannot occur. You manage oxygen levels with three main tools:
- managing particle size
- size of the pile itself
- aerating your pile
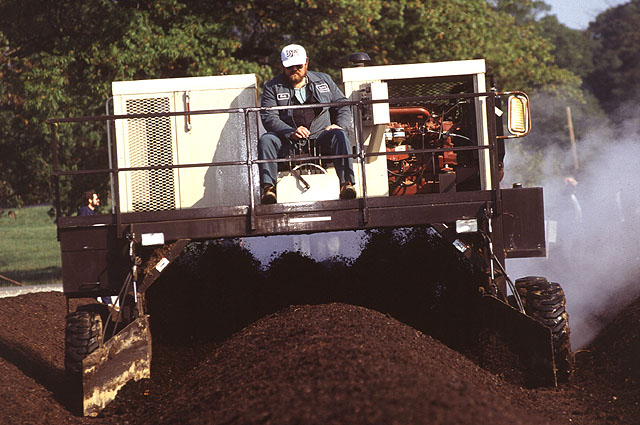
Proper particle size helps oxygen flow into and through your compost pile.
If particles are too small, there isn’t enough space between them for oxygen to flow adequately. When particle sizes are too big, there’s too much space between them, and oxygen is used up more quickly. That can happen if you’re composting bedding material with a lot of sawdust. On the flip side, overly large particles can slow the process by limiting microbial access to the feedstock.
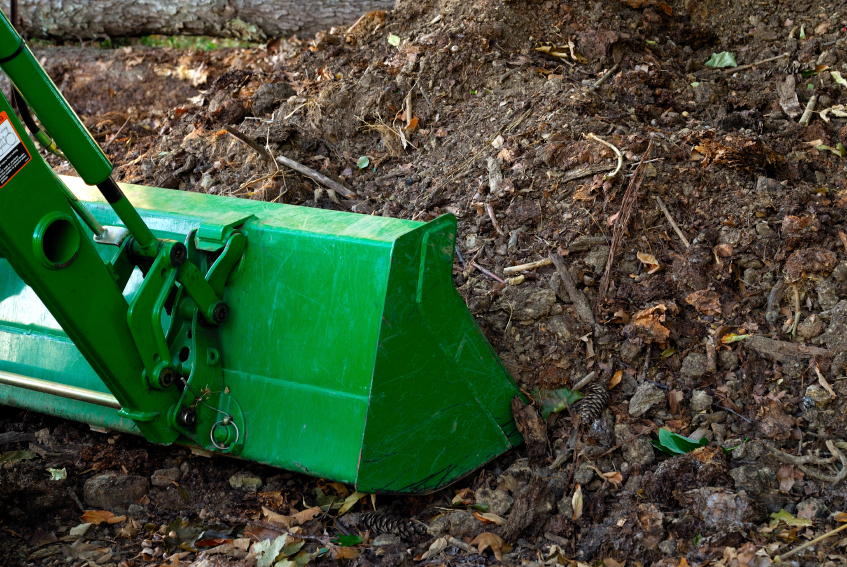
In composting, pile size does matter. For piles without mechanical aeration, limit the height to 6 feet and the width to 14 feet to encourage air flow through the pile.
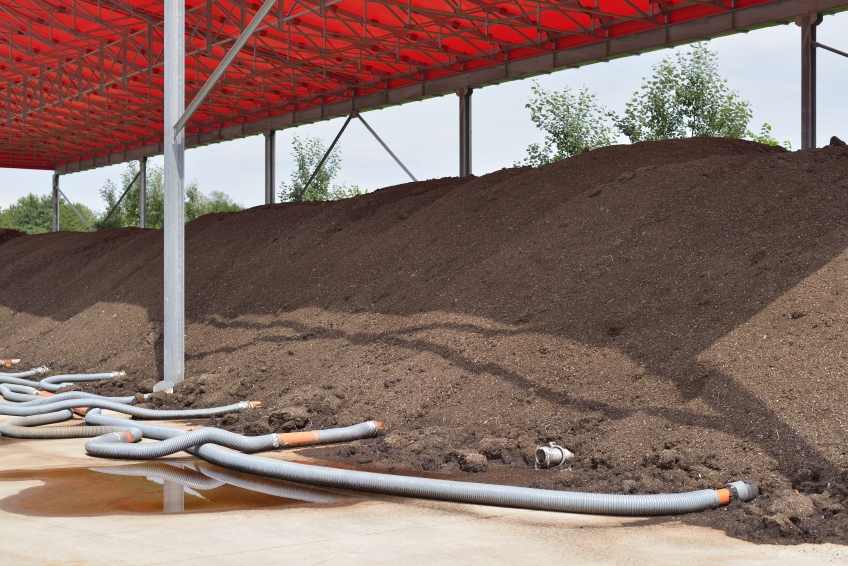
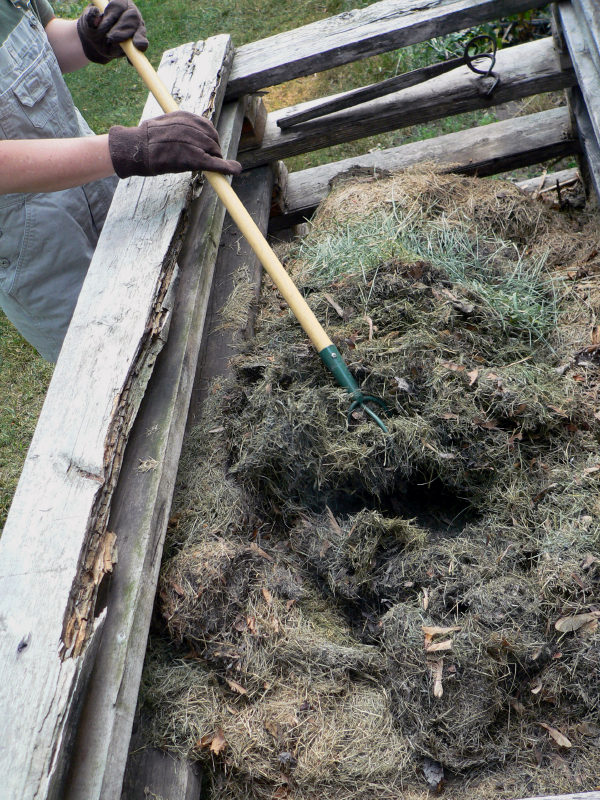
Turning your compost pile also increases oxygen flow inside the pile – and speeds up decomposition in the process. But turning is a temporary fix, so it needs to be done consistently. Although some states may require less frequent turning, Rutgers Cooperative Extension recommends weekly turning of the pile for the first three or four months to ensure pathogen destruction and proper aeration. After that initial period, RCE recommends turning the pile once a month.
Temperature
Microbes generate heat as they decompose, but they don’t know when to quit. As benevolent overlord of the pile, you must save your bacteria from themselves. The optimal temperature for a compost pile is between 95 and 131 degrees Fahrenheit. Temperatures above or below that range will slow down the composting process.
Temperatures above 150 degrees will severely limit the composting rate. However, you don't have to micromanage your pile. A compost pile may often go above 131 degrees early in the process. Aim to maintain temperature above 131 degrees F for at least three days to destroy pathogens. To destroy weed seeds, maintain the pile above 145 degrees F.
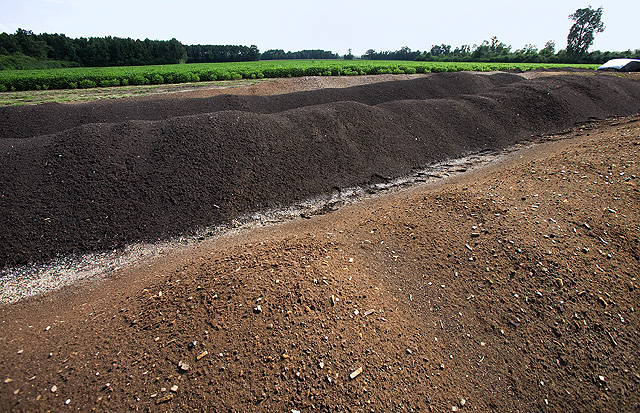
If temperatures decline below 110 degrees F early in the process, something may be wrong. You may have too little oxygen, too much or too little water, or too little nitrogen. Your pile also might be too small. Although minimum pile size should be 4 feet wide, 4 feet long and 4 feet high to generate required temperatures, Rutgers Cooperative Extension recommends piles be 6 to 10 feet wide, 6 feet tall and as long as your facility constraints allow.
As a pile matures, the temperature should slowly drop, so it’s your job to keep it in range. In a well balanced pile, turning the compost can rejuvenate microbial activity and increase temperatures again. If other factors are in balance, once your compost pile hits below 70 degrees F, it’s most likely nearly done. In this case, if turning the pile does not increase the temperature - your compost is a finished product.
You can control the temperature of your compost pile by managing:
- size of the pile
- type of waste used
- porosity
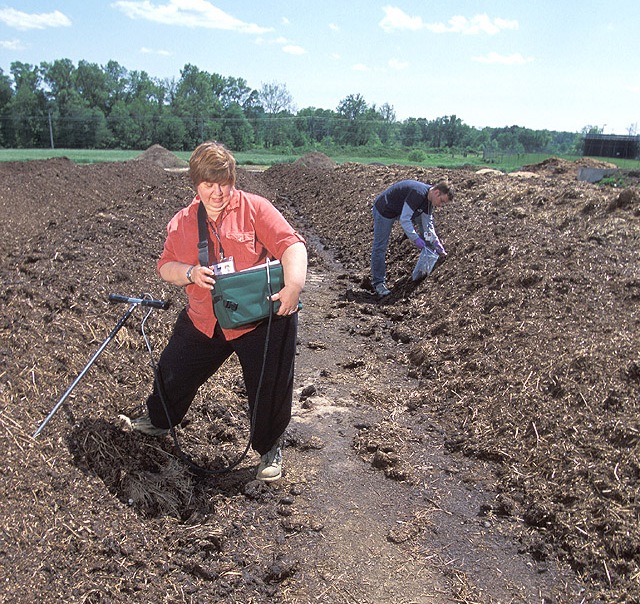
To get an accurate temperature inside your compost pile, use a probe that reaches deep into the pile and leave it in long enough for the reading to stabilize. Take readings from several locations, at various depths from both the top and the sides.
C:N Ratios - Providing a balanced diet
Good compost overlords actively manage carbon and nitrogen (C:N) ratios -- a key measure of compost nutrient content.
In your pile, carbon is an energy source that drives microbial growth. However, carbon is constantly escaping because carbon dioxide is released in the composting process. To compensate, you need to actively blend materials to maintain C:N ratios.
Aim for a C:N ratio of between 25:1 and 40:1. If the C:N ratio gets too high, your pile will decompose slowly and unprofitably. The flip side: if you add too much nitrogen, bacteria may find energy-producing carbon in short supply.
Caution! Not all carbon sources are created equal, and C:N ratios can affect soil fertility. This chart shows that C:N ratios can range from 19:1 for Horse Feces and Urine to more than 500:1 for many wood products.
Recipe for Proper Composting Carbon/Nitrogen Ratio |
|
Type |
C / N Ratio |
| Horse feces and urine | 19/1 |
| Straw | 40/1 -- 100/1 |
| Wood Shavings | 500/1 -- 600/1 |
| Sawdust | 400/1 |
| Horse manure | 22/1 -- 93/1 |
| Dairy manure | 20/1 |
| Grass clippings | 17/1 |
(Source: Krogmann et al. 2006)
If, for example, you are consistently composting manure plus bedding, you will likely need an additional nitrogen source to help balance the high-carbon content of the bedding. This could be especially important if you are planning to apply finished compost to any area that will grow crops or other plants. Why? Compost that is high in wood products could compete for nitrogen in the soil, which may reduce soil fertility.
Your goal is to provide a balance of materials that bacteria can readily use. Woody material, for example, is a challenge to decompose unless it is balanced with a high-nitrogen material, such as food waste. Bacteria can readily decompose most nitrogen sources, but some animal parts which contain keratin, such as hair and feathers, are exceptions to that rule.
For materials that resist decomposition, grind them into smaller pieces and mix them throughout the pile.
pH
Generally speaking, compost microbes tend to thrive best in a pH range between 6.5 and 8.0, but different bacteria and fungi work best at different pH levels. Although composting rates will slow beyond the optimal range at certain pH levels, the compost process tends to self-correct pH, so most compost operators do not actively manage pH in their piles.
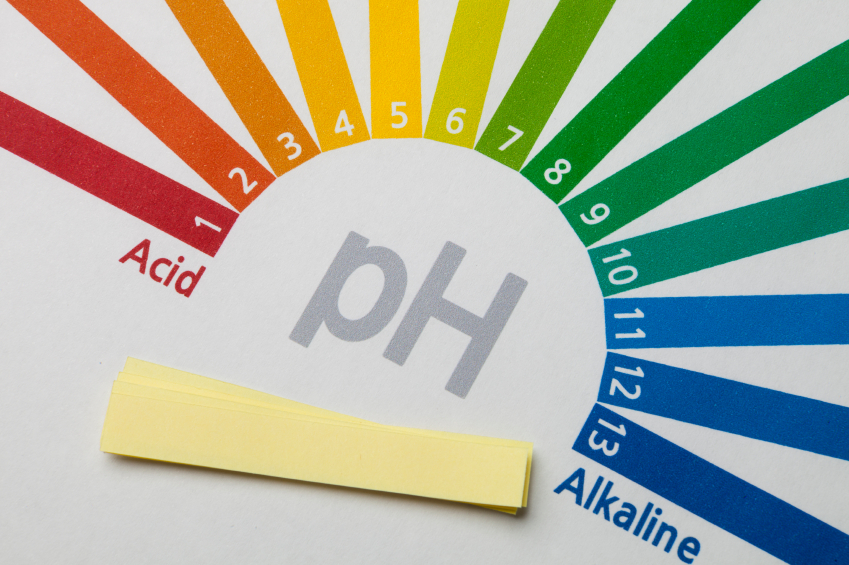
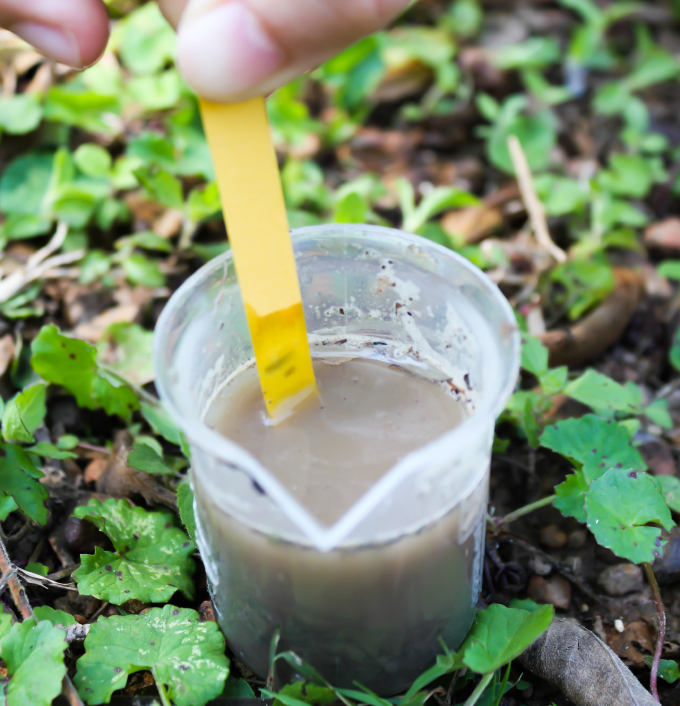
In the early days of the process, pH may drop to 4.0, but towards the end of the process, pH often settles in the 7.5 to 8.0 range.
If your mix includes too much nitrogen, you may see pH rising as nitrogen-rich material is converted to ammonia, which further increases alkalinity. This will reduce the composting rate, and your pile may lose nitrogen as ammonia volatilizes off. A slightly basic pH also may help with odor control.
Check out the microbiological and chemical processes that occur during the composting process (NRCS, Composting Manure fact sheet).
Once all of the above factors are balanced (moisture, temperature, carbon:nitrogen ratios, pH, oxygen, particle size, turning/aerating) your compost is completed. You can then use your finished product to cure for several months, spread on fields or sell.
Troubleshooting the Compost Process |
||
Symptom |
Problem |
Solution |
|
Compost has bad odor |
Not enough air |
Turn pile, add (more) PVC pipes. |
|
Compost has bad odor and is soggy |
Not enough air and too wet |
Mix in dry ingredients like straw and shavings, add (more) PVC pipes, cover with a tarp. |
|
Inside of pile is dry |
Not enough water |
Add water when turning pile or adding materials to pile. |
|
Compost is damp and warm in the middle but nowhere else |
Pile is too small |
Collect more raw material and mix into old ingredients. Piles small than 3 square feet have trouble holding heat. |
|
Pile is damp and smells fine but is not heating up |
Too many shavings, wood chips, or bedding and not enough "food" for bacteria |
Mix in a nitrogen source - manure, fresh grass clippings, blood meal, or ammonium sulfate. |
(Source: Pierce Conservation District)
Learn More:
- Read tips on composting horse manure from the Pierce County Conservation District.
- Watch a detailed review of the basics of composting, from Uta Krogman, Solid Waste Extension Specialist at Rutgers Cooperative Extension.
- If you are interested composting equine manure, watch this video from Stephen Komar of the Rutgers Cooperative Extension.
- Check out the microbiological and chemical processes that occur during the composting process (NRCS, Composting Manure fact sheet).
- Read more about how to test compost moisture content using a microwave from Purdue University Cooperative Extension.
